Robot Playpen Construction
To allow the students to test their software in a safe, controlled, and user friendly environment, we created a playpen for the robots. We were fairly happy with how our design faired, so we have created this page to give construction hints and tips to aid others.
Goals
- Prevent damage to the robots from falling off tables, being stepped on, or banging against hard surfaces
- Simplify computer vision problems with controlled lighting and coloring
- Allow several students to be using the workspace at the same time without interference
- Level surface with good friction for reliable motion
- Make sure all areas of the workspace are accessible from outside the workspace
- Have a mix of large open spaces and smaller enclosed spaces
Solution
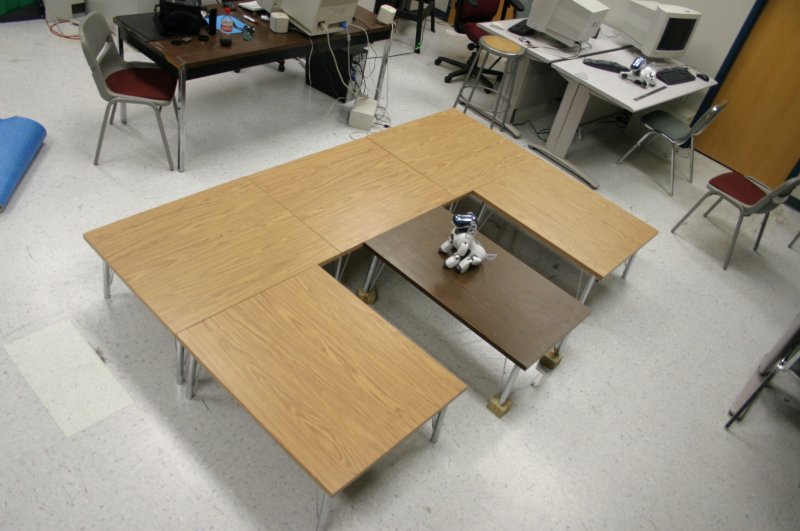
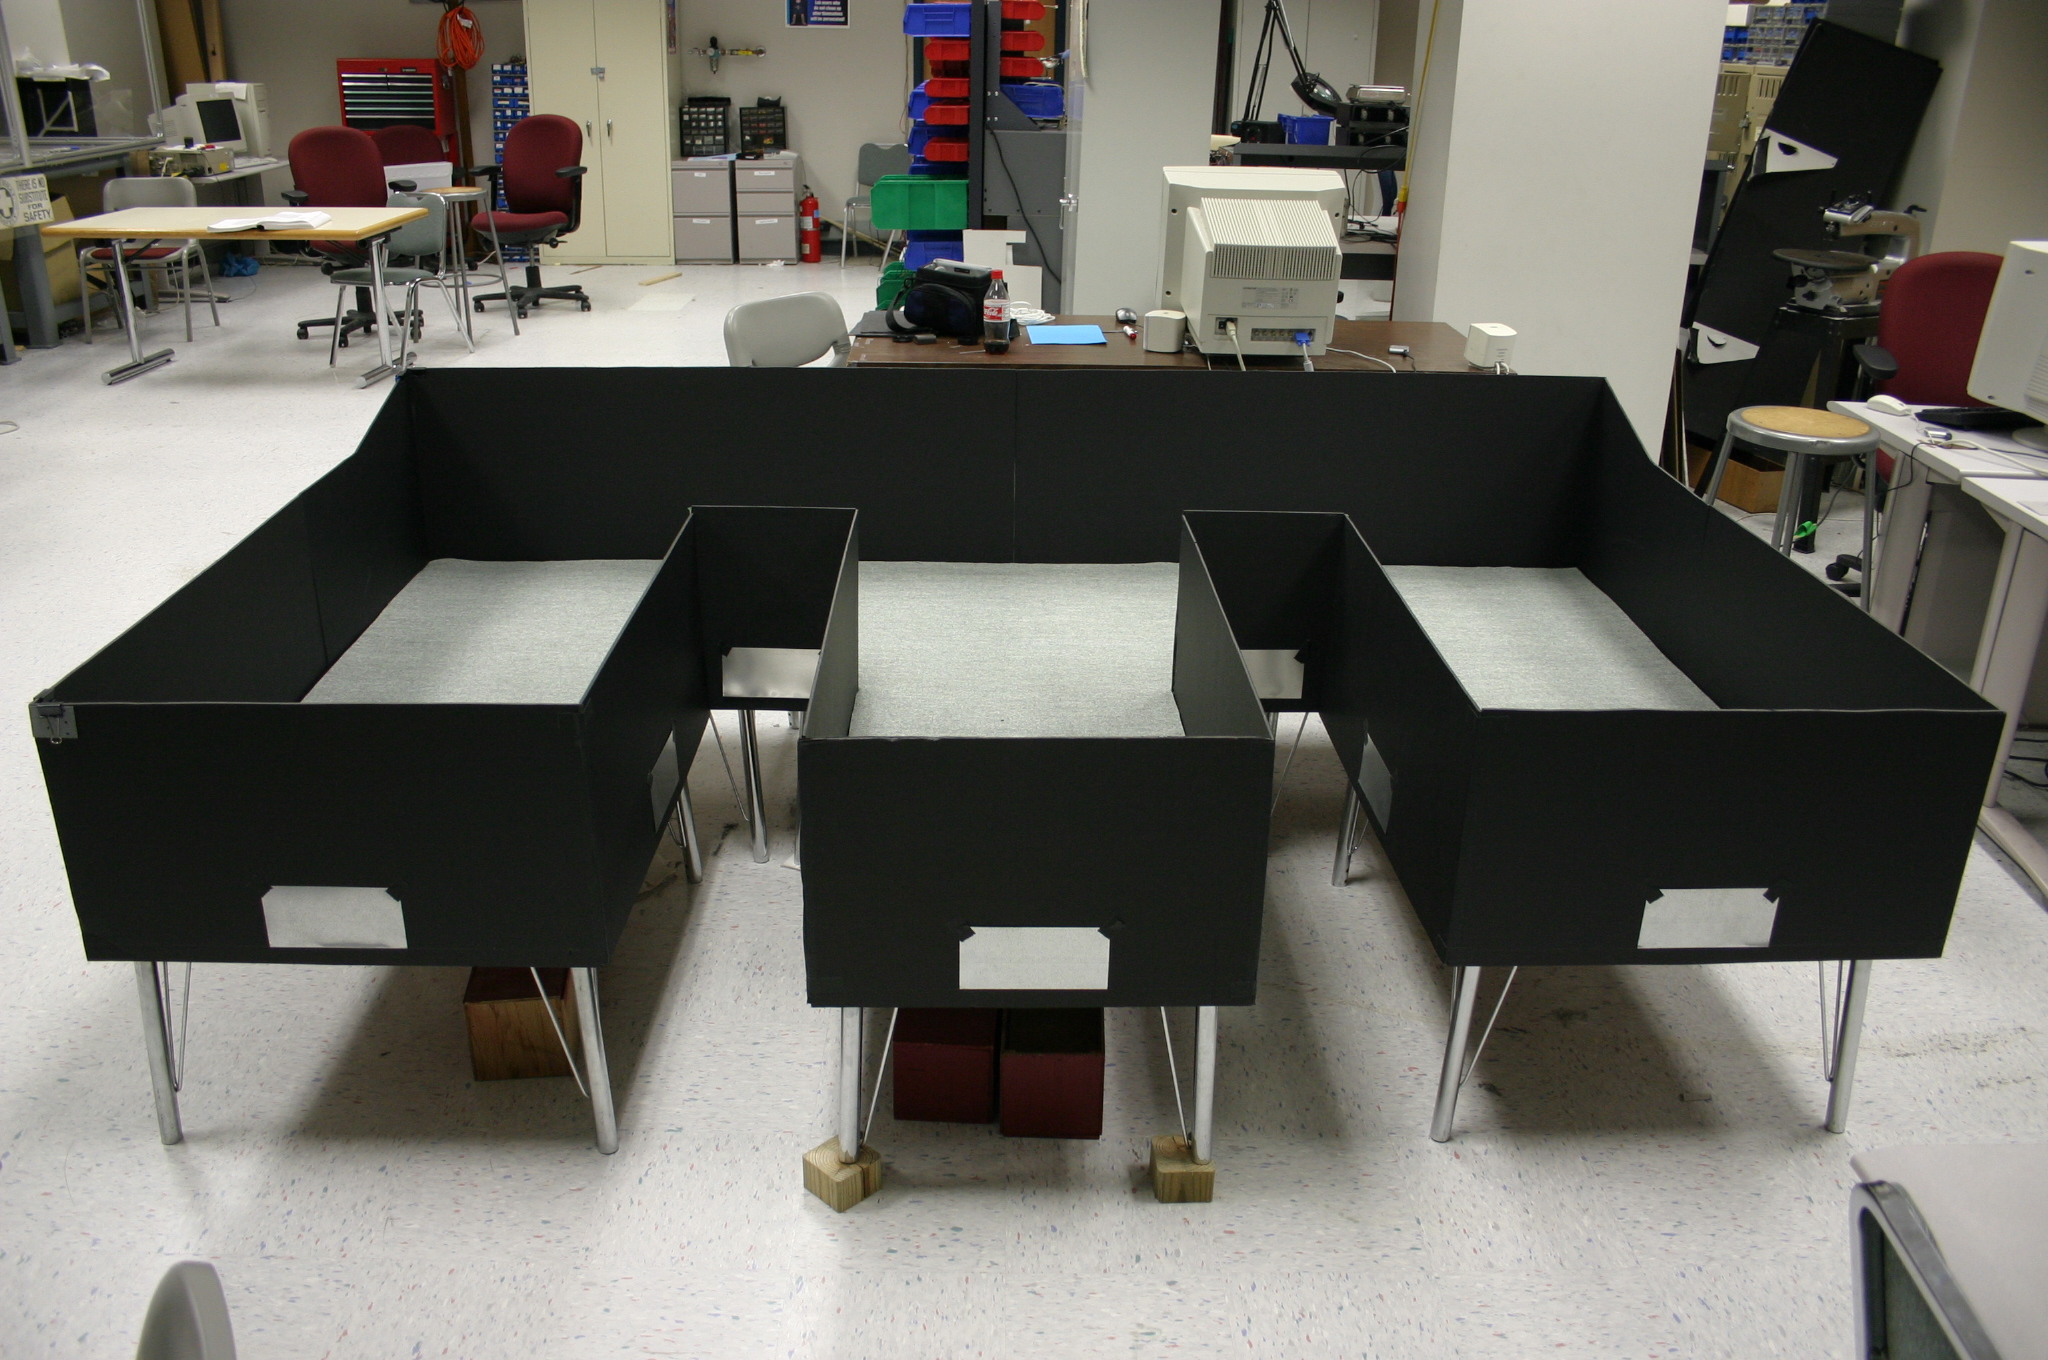
Our solution to this is an "E" shaped arena assembled from 5 rectangular tables:
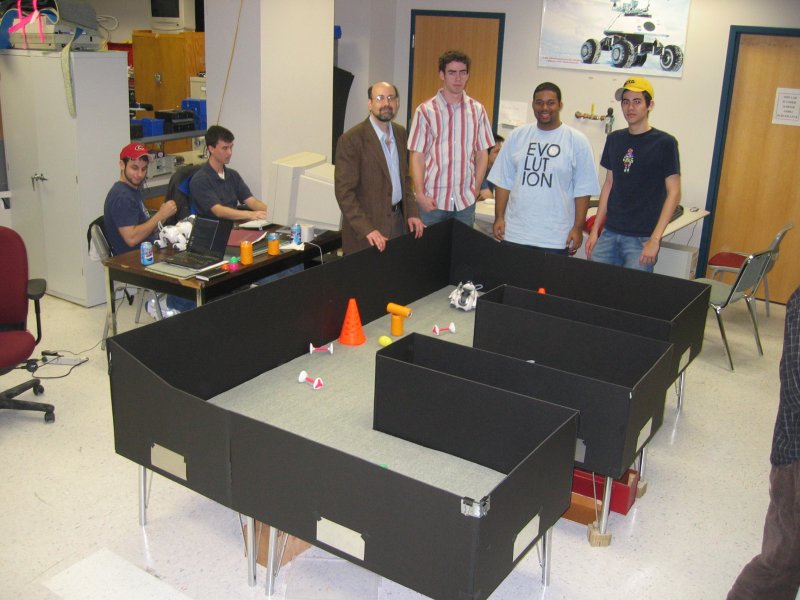
The raised work area makes it easier to pick up and set down the robots, and also inhibits people from walking in the workspace (keeping it cleaner and reducing risk of stepping on a robot). Walls rising from the edges of the table keep the robots from falling out, as well as blocking noisy visual scenery such as people's clothing from the robot's view.
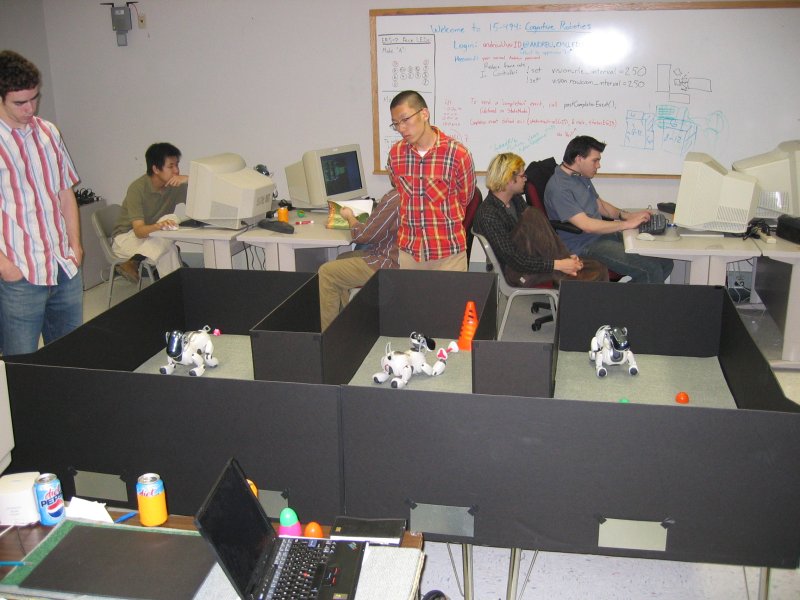
The legs of the "E" allow multiple students to work in separate areas without interferance, while the long spine provides an open area for long-distance tasks. The inlets between the legs allow all regions of the workspace to be accessible, so that robots cannot wander out of reach.
Construction
Tables
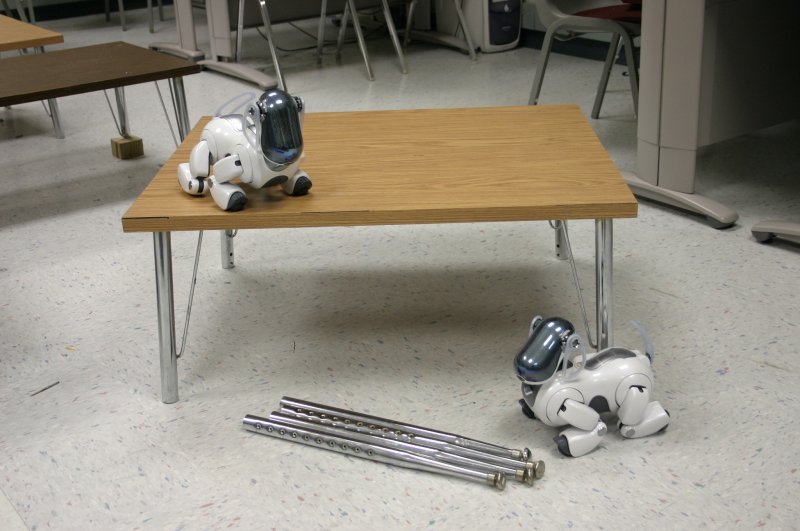
Construction begins with selection of tables. We found 4 identical rectangular tables, and one thinner but slightly longer table. To allow the students to see over the walls while sitting at their workstations, we adjusted the tables to their lowest position by removing the adjustable legs altogether:
Placing the tables together, we have our workspace platform:
The oddball table was a nice size, but its legs were a bit shorter than the others. We used wooden blocks custom-cut to bring it to the right height.
One maintenance issue that we encountered during the course is that students would inadvertently kick the table legs while walking around, and would cause the tables to move out of alignment. If possible, I would recommend screwing metal plates across the tables' undersides to keep them locked together.
For reference, the dimensions of the workspace we put together was 108 by 66 inches. Total required floor space is a bit larger to allow for mobility on all sides of the workspace.
Carpeting
To reduce wear on the robot joints when walking around, we wanted to put some padding between the robot and the tables. This also has the dual benefits of limiting object's ability to roll away as well as allowing us to choose a convenient color for the floor, enabling our vision code to distinguish ground/non-ground.
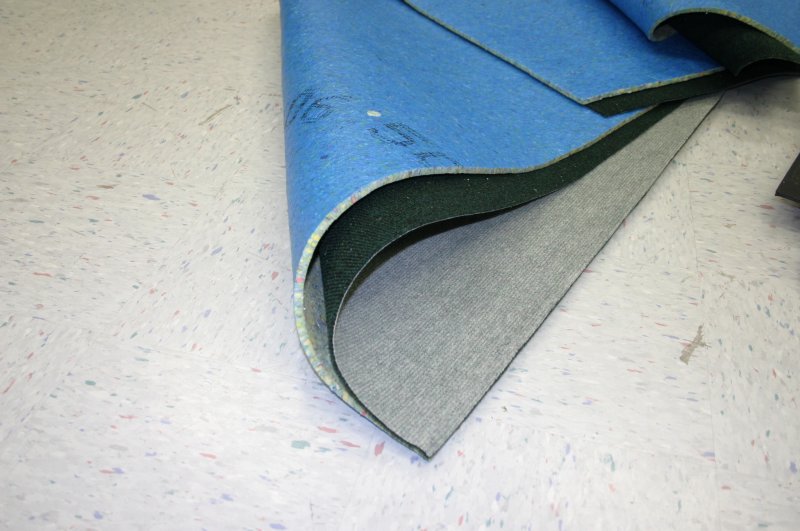
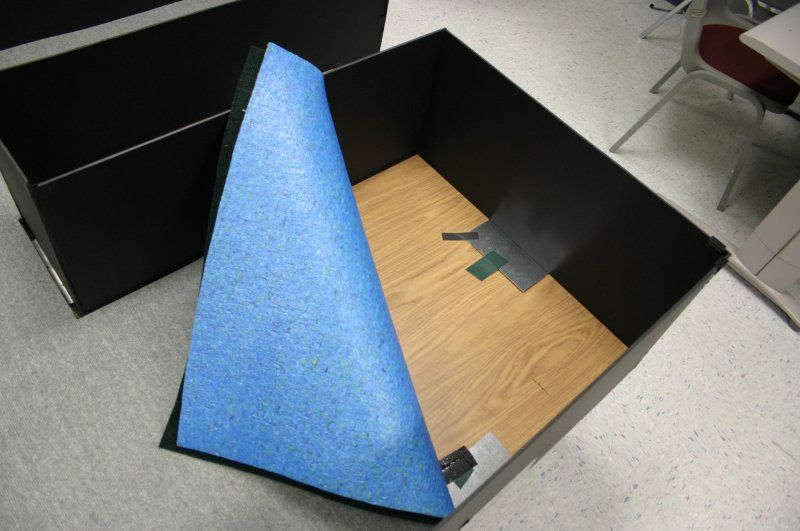
The blue/speckled layer on the bottom (left) is simple foam padding (available at a carpet store), which is covered over by a thin layer of green/gray indoor/outdoor carpet. We had intended to use the green side up, but found it was too dark to be distinguished reliably from the black walls, so instead we used the underside of the carpet, which is a lighter shade. Be sure to get a thin, low shag, carpet for the top layer, to maximize the reliability of locomotion.
To cut the carpet, lay it on the floor and place the tables upside down on top of the carpet, and trace the outline of all the tables put together. This allows you to account for additional space between tables where they may not lie flush, and ensures your carpet will fit precisely. When cutting, err slightly on the small side -- it's better to have a small gap between the carpet and the wall than to have a warped carpet because it doesn't lie flat. (Of course, you could always trim later if needed, so don't go out of your way to cut smaller than you think you need to!)
Walls
The carpet may be ready, but don't put it on yet. We need to assemble the walls first.
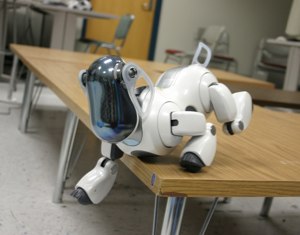
Whoa! We don't want to see any of this happening!
You will need three materials for the walls: black foam core posterboard, flashing, and tape. The posterboard can be found in any art store, and you may be able to pick up some black gaffer tape there as well. (I recommend gaffer tape because it won't leave residue on the table, is fairly easy to work with, and has a matte finish that won't show up on camera.)
Metal "flashing", from the hardware dept.
The flashing can be found at your local Home Dept. or Lowe's in the roofing section. Look for the "L" shaped pieces. If you're lucky, you'll find the stiffer (galvanized steel?) version, although I've also found flimsier (aluminum?) flashing as well. Either one will work just fine for our purposes though.
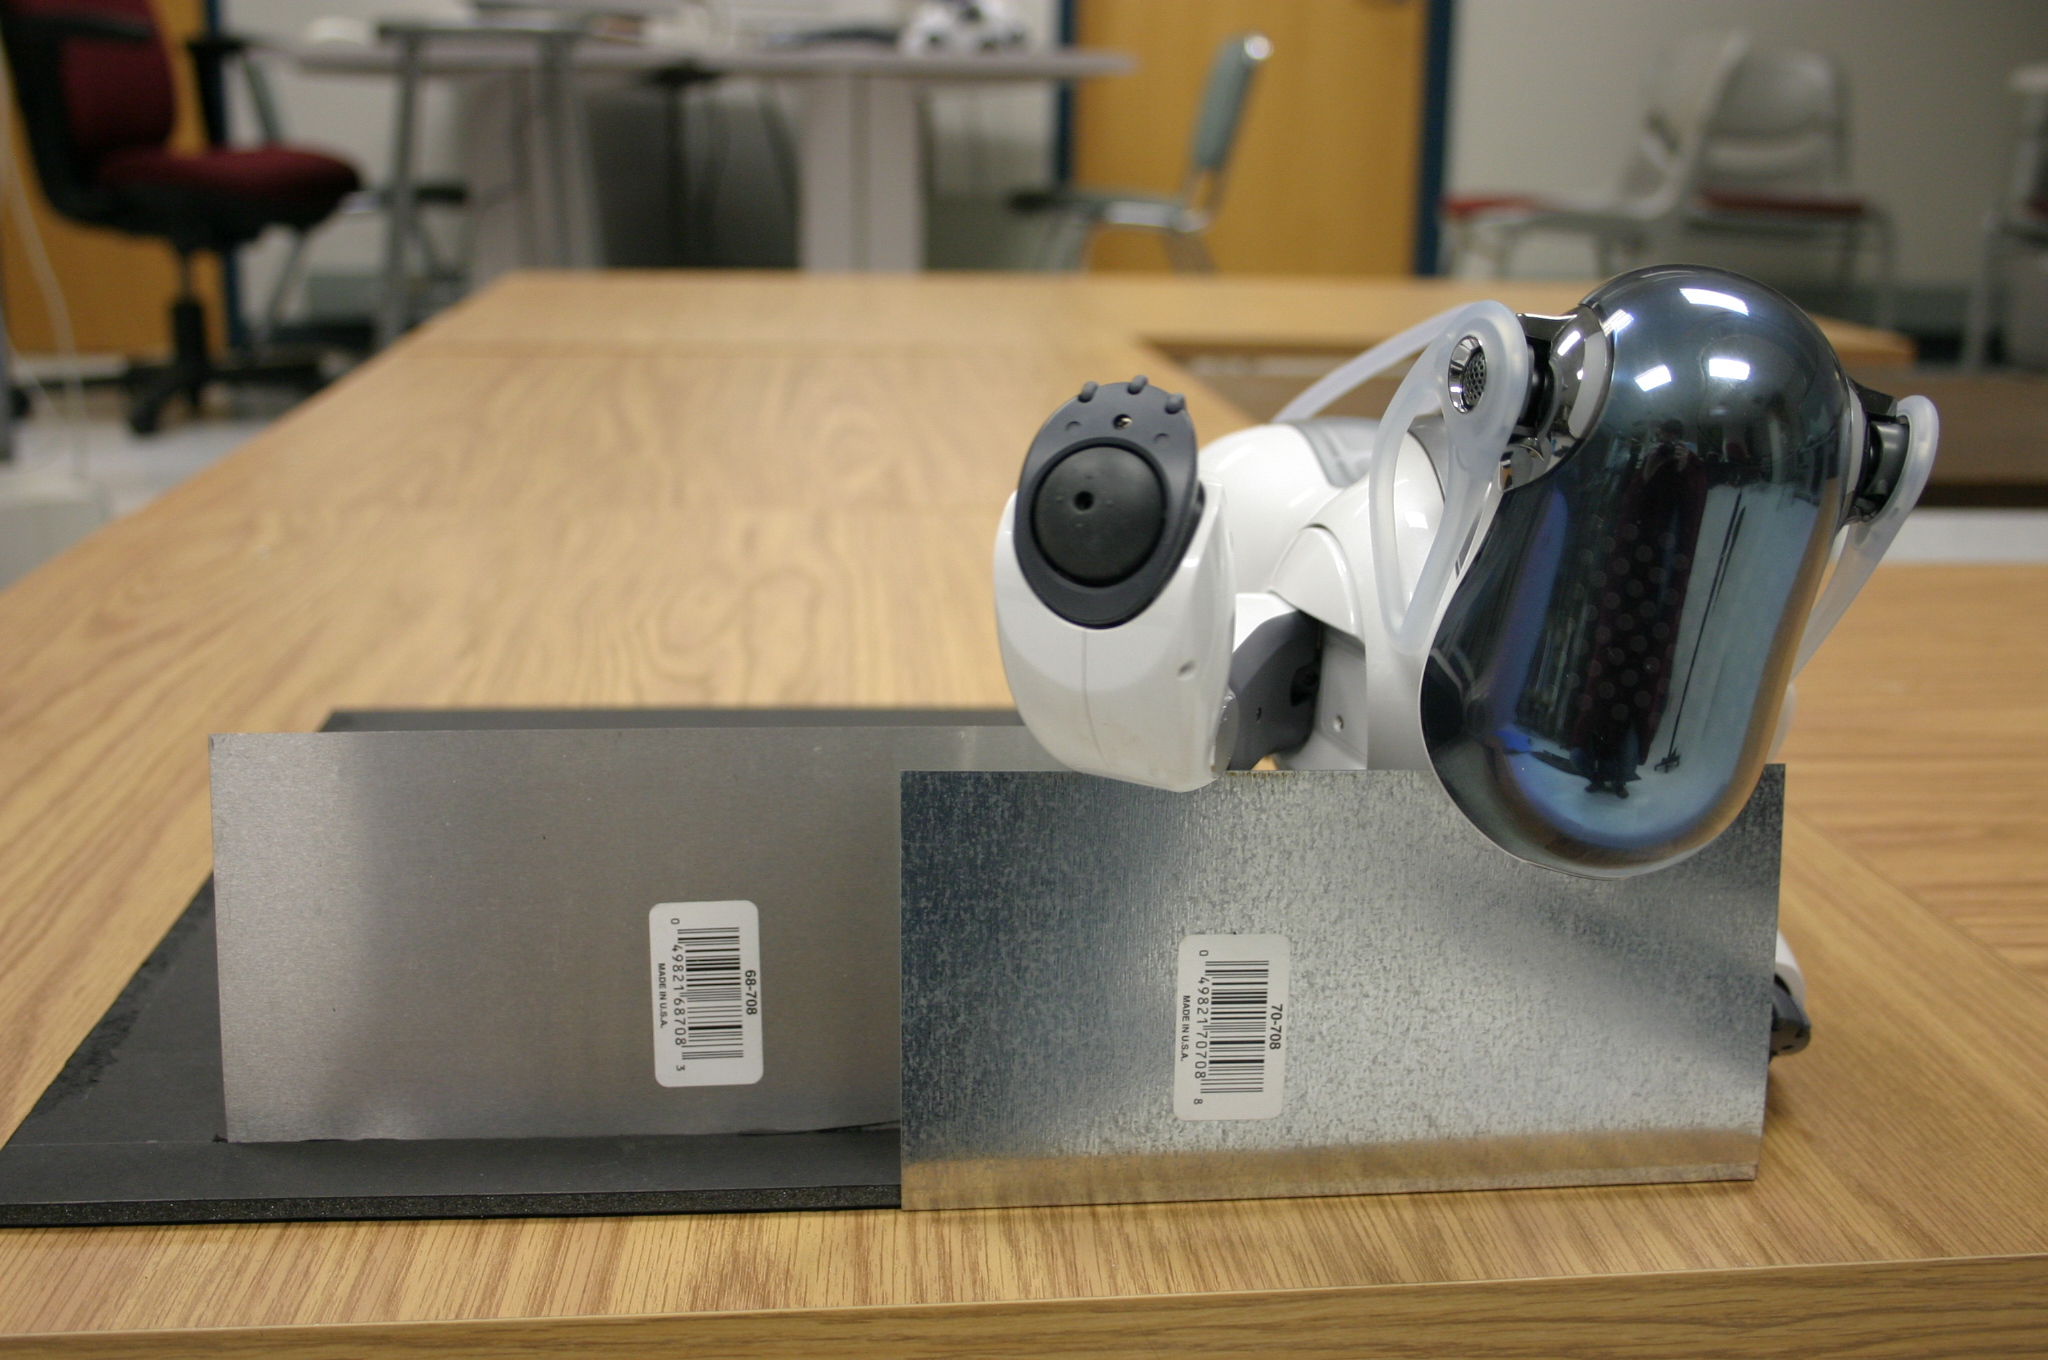
Sparky prefers the stiffer 70-708 flashing (right), but either will work.
We cut our posterboard into strips 16 inches high. This was a convenient height for the size of the posterboard we were using, but isn't critical. When choosing the height of your walls, consider that higher walls block "noise" from outside the pen better, but conversely, also limit visibility into the pen from students sitting at their workstations. Higher walls are also more likely to receive punishment from students leaning into the pen.
Cut the strips into segments to outline the perimeter of your tables. Remember to add the width of the posterboard itself to each segment so one side of each corner overhangs the next to get nice joints. If you want to get extra fancy (and perhaps save some posterboard), try scoring (cutting a "V") the posterboard at corners to fold it around the corner without having to join separate pieces (and you can then use the full length of every strip).
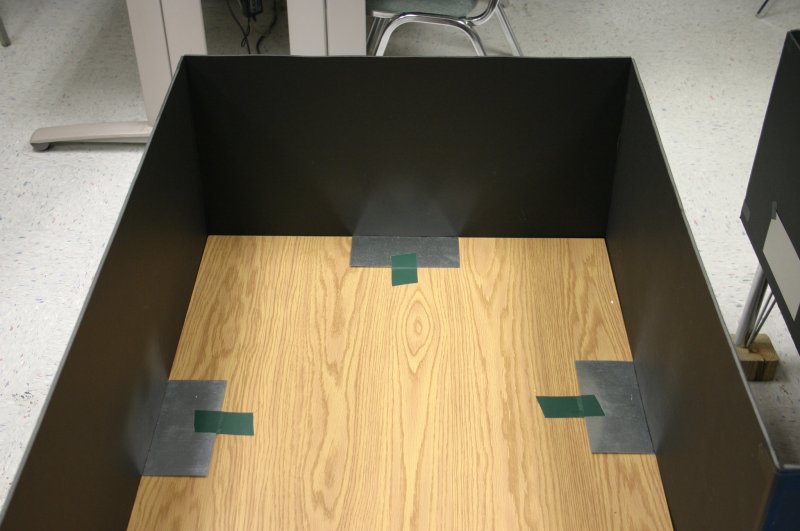
Once you have your pieces cut, measure the thickness of your table. Hopefully it is at least an inch or so thick. Draw a line that distance away from what will be the lower edge of each piece of posterboard. Then cut a slot the width of your flashing on that line so you can insert one edge of the flashing through the slot. (An x-acto knife is handy here.) You will wind up with the flashing sticking out of the posterboard, like this:
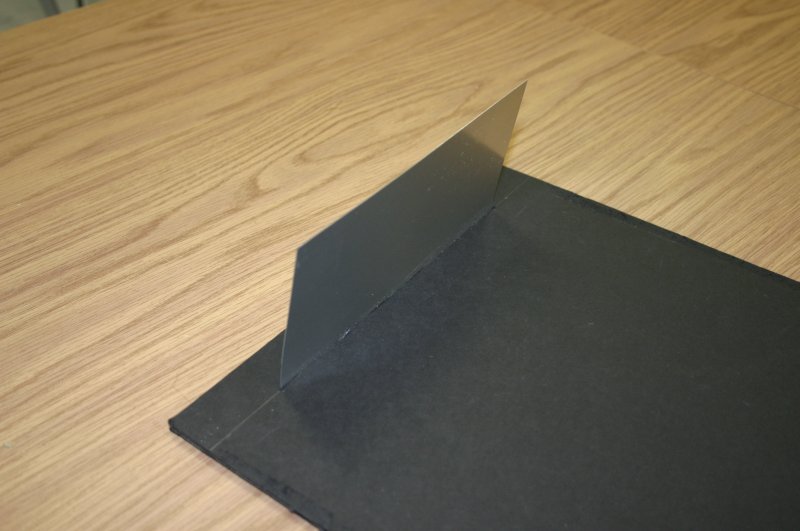
Originally I had planned to glue the flat portion of the flashing to the posterboard, but found it was enough just to put tape over the corners to prevent them from sticking out and snagging/scratching passers-by. (bottom image)
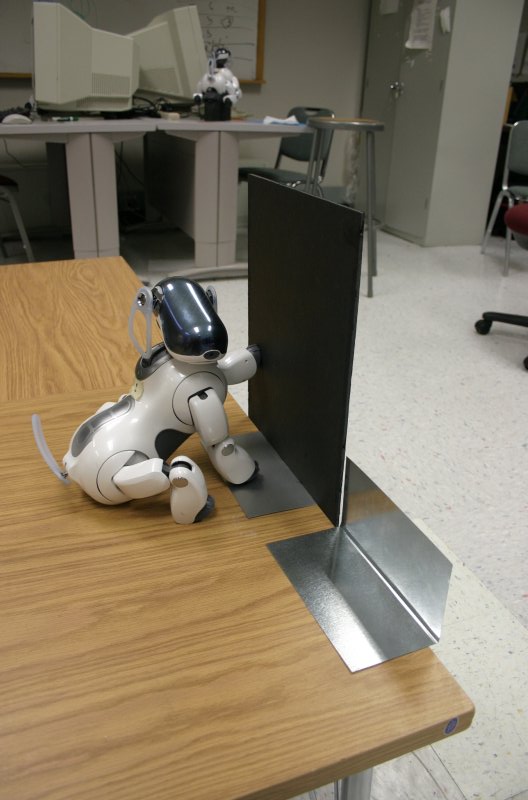
Now we can sit it "upright" on the table, as demonstrated by Sparky:
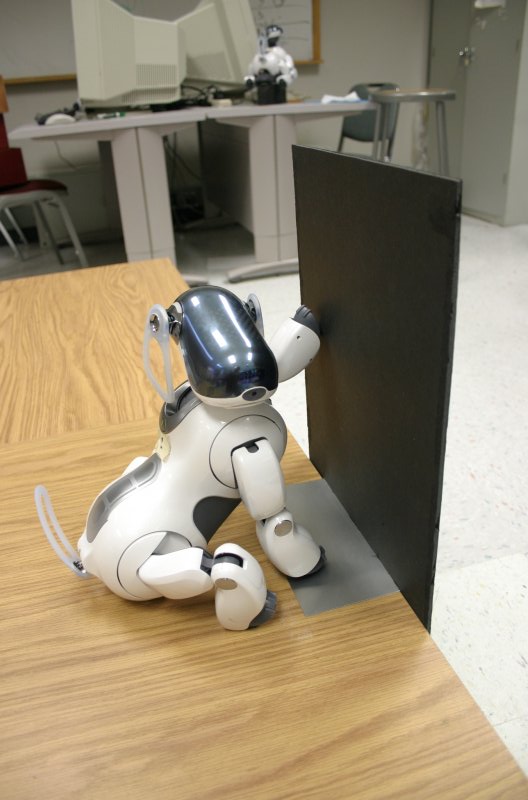
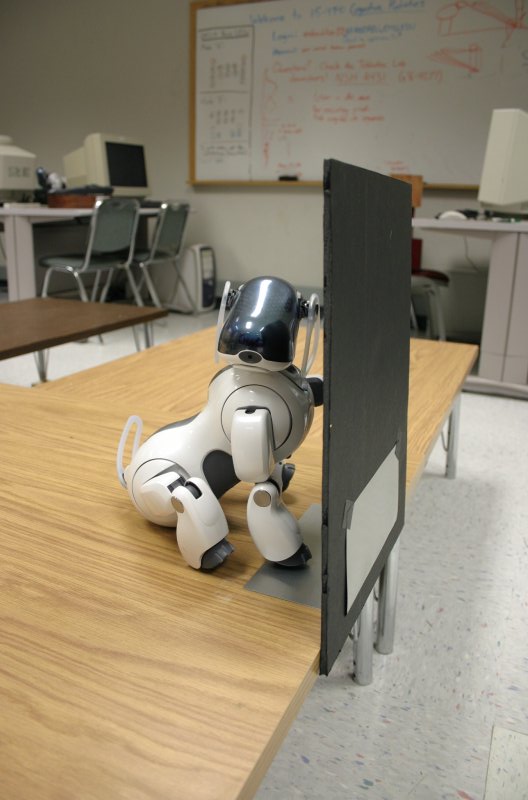
No escape for you now!
Of course, you will want to plan where these slots will go so that you can space out the support around the playpen.
Assembly
Once you are done attaching the flashing, it's time to put it all together. As you put each wall on the table, tape its flashing down so it won't move:
After you have placed all of the walls, tape their corners together (assuming you didn't do the trick with folding segments around the corners):
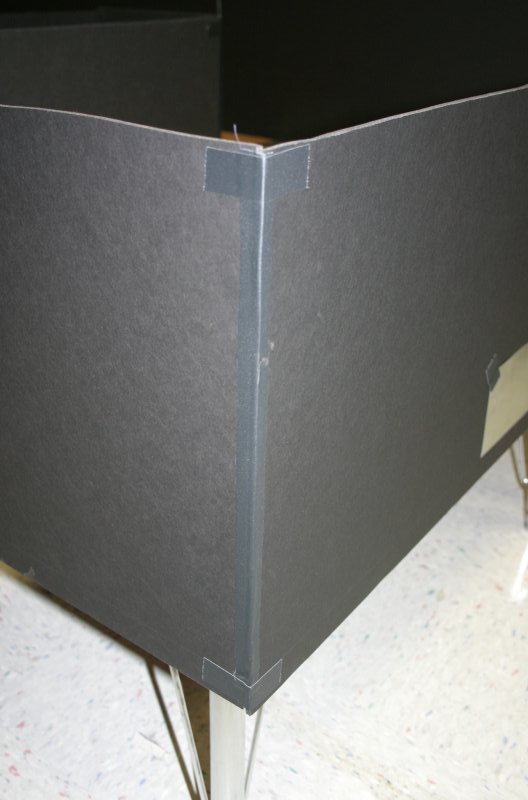
Left image - notice how well the gaffer tape blends with the wall, even when a flash is used on the camera. One long strip runs the height of the wall, with additional perpendicular reinforcement at the top and bottom.
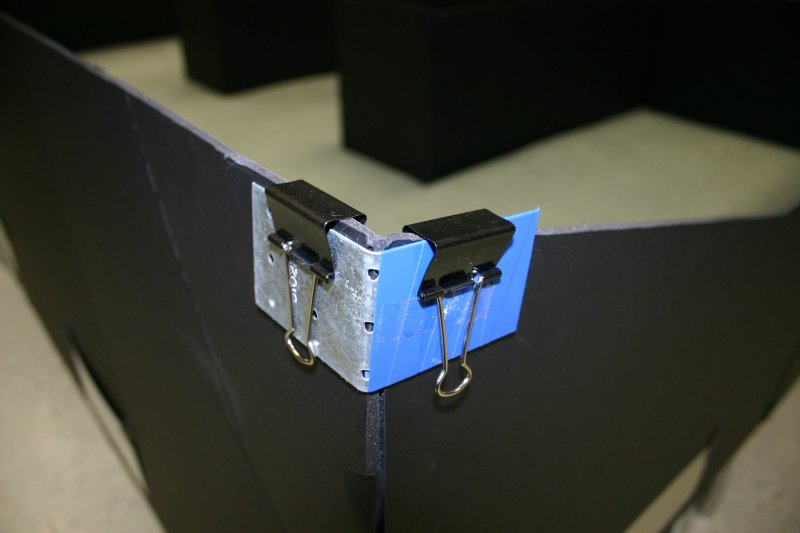
Right image - The outermost corners may require additional strength to deal with people bumping them as they walk by. A few metal brackets with heavy-duty office binding clips will do the trick.
On each corner we used a strip of tape running the height of the wall, with an additional piece of tape running parallel to the ground to reinforce the top and bottom. As shown in the picture, metal brackets were found to be needed on the outermost corners, which received the most abuse.
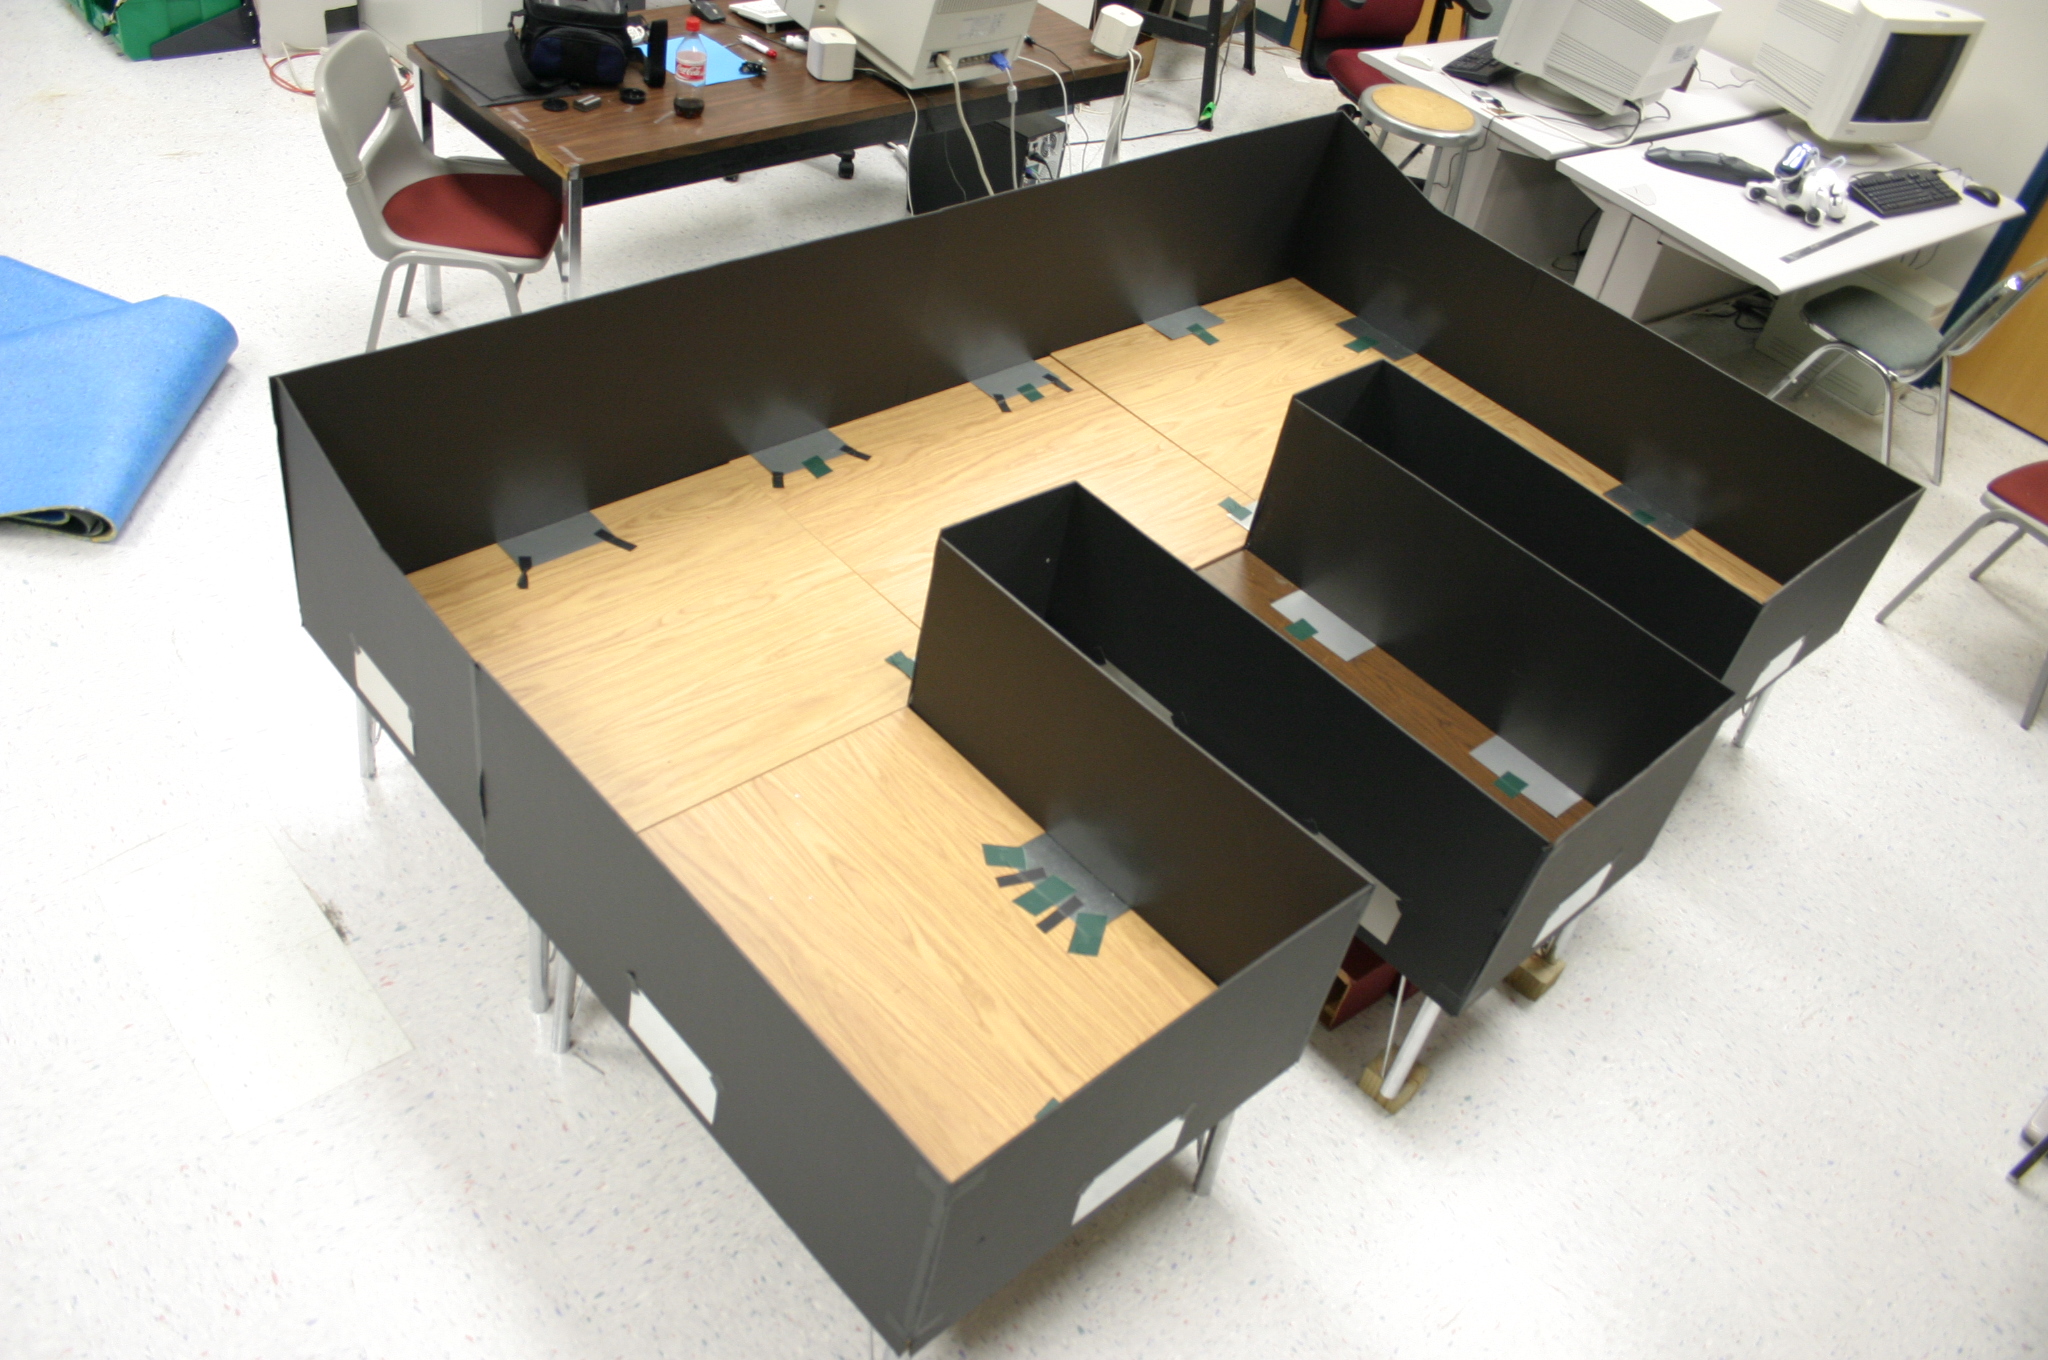
The completed walls, before carpeting
Now it's a simple matter of placing the carpet in the pen, and you're good to go!
Drop in the carpeting you cut earlier...
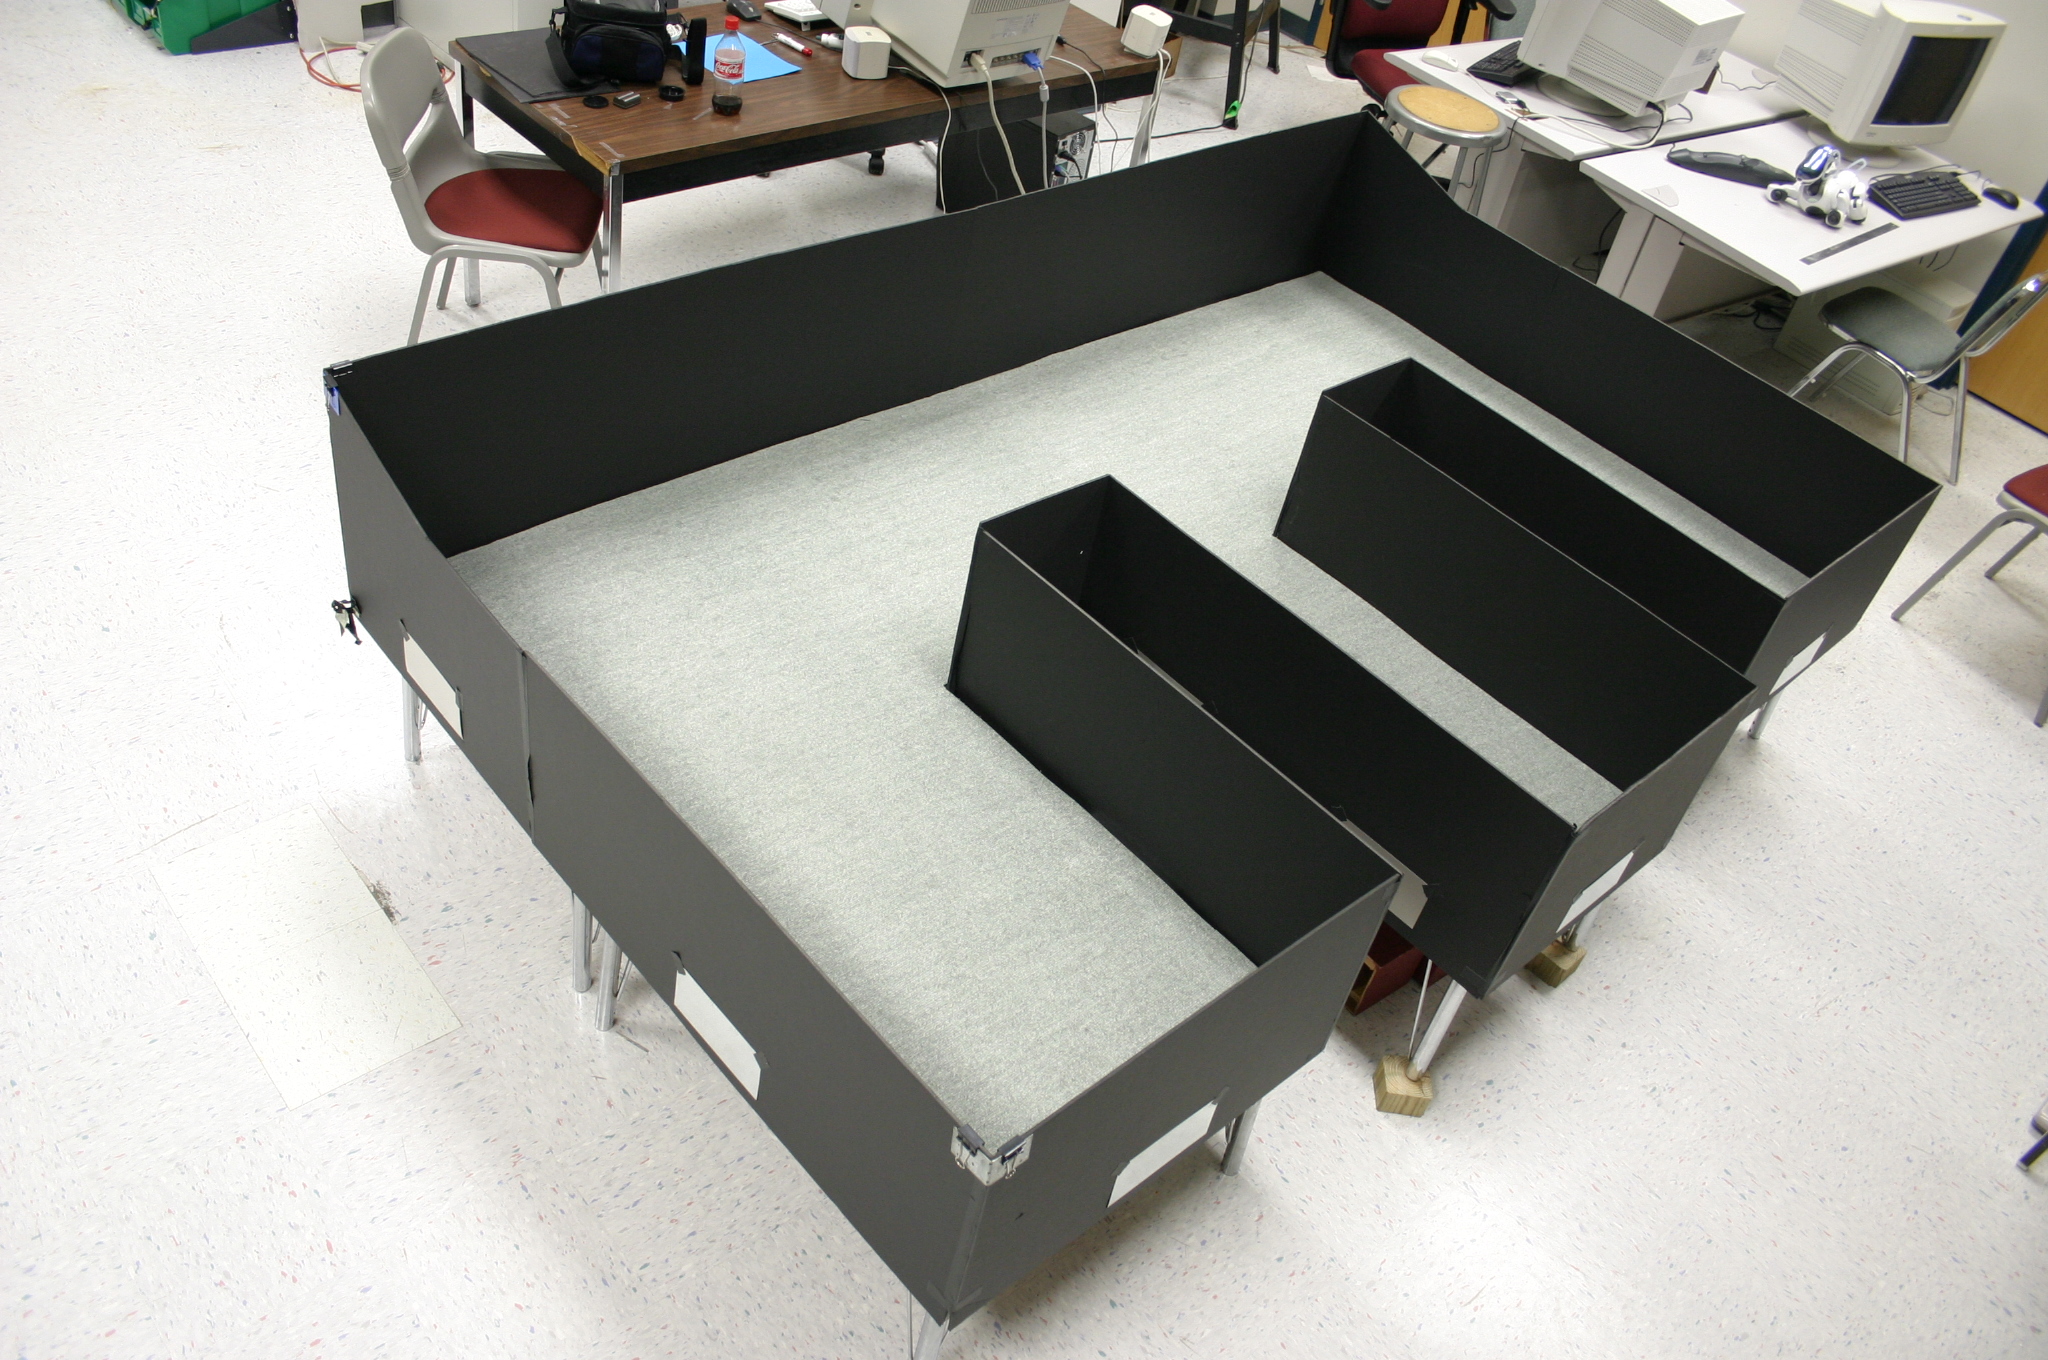
Completed robot playpen!
Workstations
For reference, here are also some shots of the student workstations:
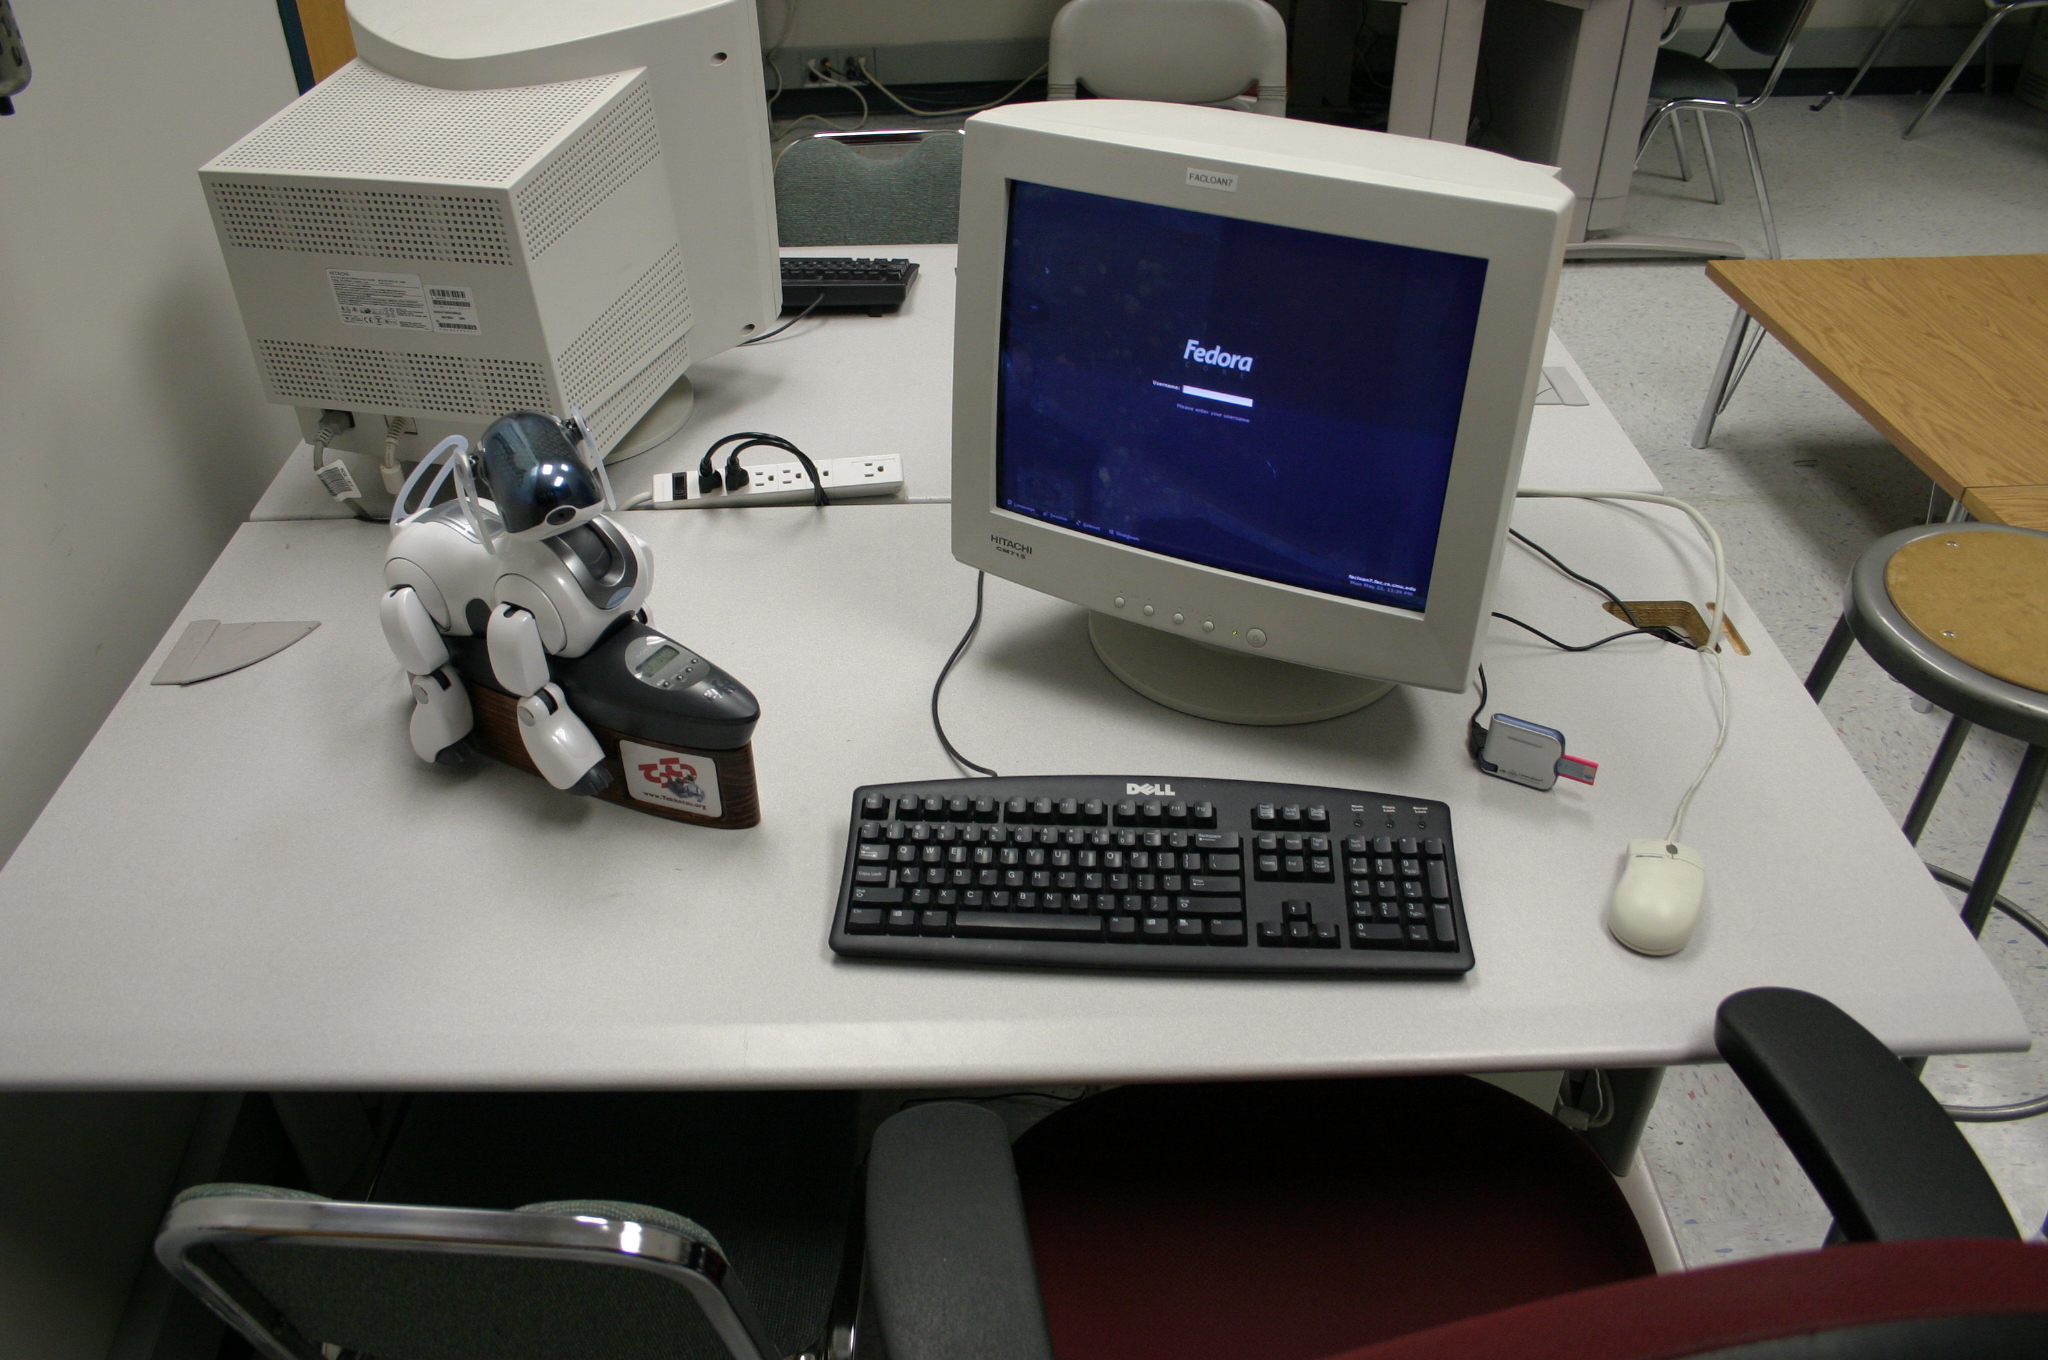
Workstation, running Fedora Core 3, with home directories on AFS so students can sit down at any workstation to access their files.

Wooden stand, raises charger (and Aibo) off table so limbs can move freely without touching the ground -- handy for motion testing, and still keeping battery charged. (more pics)
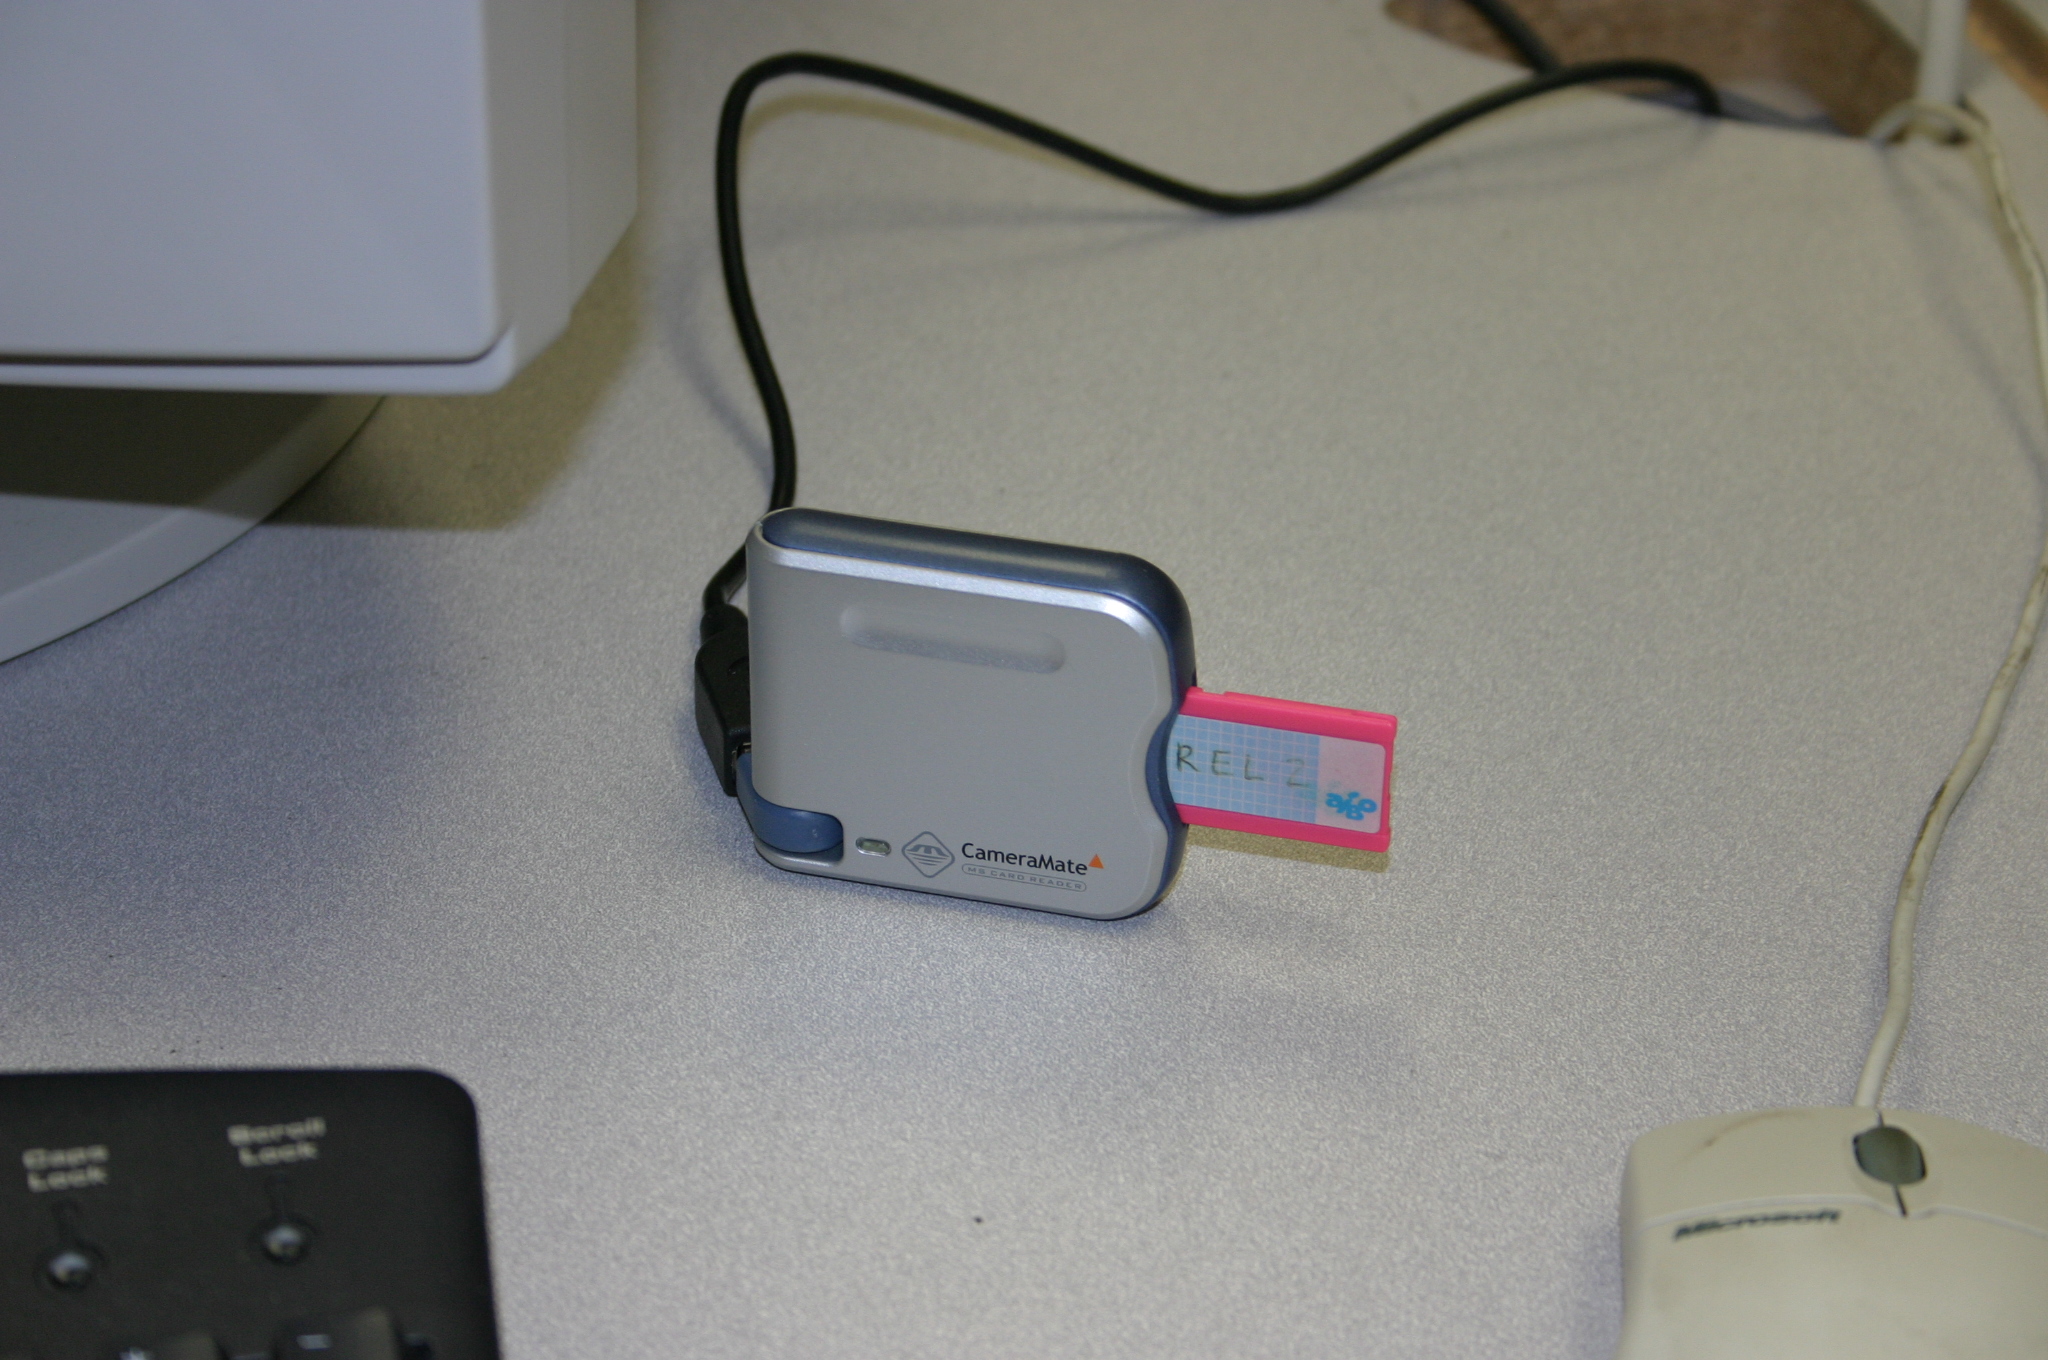

Memory stick drive used for our lab -- "CameraMate MS Card Reader"